Monday 26 March 2018

Sowing my annual flower patch

It is soon time to sow my annual flower patch on the allotment. I do this every year, sometimes quite large areas, other times only a corner of one of my beds. In the first year I used a commercial flower mix which had already various annual flower species mixed together such as corn poppy, cornflower, corn marigold, corncockle, Linum, Cosmidium, Cosmos, californian poppy, Echium and many more. It looked beautiful but doing this every year, especially on a larger area, would be quite expensive. I now mix all the spare seed packets of suitable annual flowers, mainly acquired from garden magazines which often give away flower seeds for free, together to create my own mix. This way my flower patch looks different every year and it is also much cheaper.

Cornflowers, poppies and pot marigold give a colourful picture

This is what a meadow looks like!
Often these annual flower patches are called meadows in garden magazines which annoys me a bit. In the magazines they show how to create meadows in gardens to help wildlife but the pictures almost always show annual flowers such as corn poppies and cornflowers sown in a "meadow-style" which looks very pretty but defeats the purpose in my opinion. True meadows consist of mainly perennial flowers and grasses adapted to grazing and cutting and are now quite rare as the traditional farming practice of hay making does not fit with modern farming which mainly uses silage to feed livestock. Meadows have a lot more value to wildlife than annual flower patches as they provide an important food source, nesting and hiding place for many different invertebrates (for example spiders and insects) and also for larger animals such as amphibians, reptiles, birds and mammals. I have 2 small meadows on my allotment which I manage by cutting twice a year. More on these in a later blog post.
 
Little mason bee (Osmia sp.) on a corn marigold flower

Annual flowers do exactly what it says in the name, they germinate, grow, flower and set seed in just one year, often just in a few months as with the cornfield annuals which need to finish their life cycle before the farmer harvests the crop. Cornfield annuals such as corn poppies and cornflowers are adapted to ground disturbance and start growing after the field has been ploughed and tilled by the farmer and before the sown crops have established too much. Sadly many of these beautiful cornfield flowers are now rare or even extinct due to changed farming practices and increasing use of herbicides.

An annual flower patch can be in flower from June to September

Small tortoiseshell drinking nectar from a corncockle flower
But luckily we can bring these pretty annual flowers in our gardens and allotments. You need a sunny area with well-drained fertile soil. Some annuals like poor sandy soil but many, including cornfield annuals, grow better in richer soil. It is important to prepare the seedbed properly. I normally use a stale seedbed system which means that I prepare my seedbed well in advance, say beginning of March. I then leave it for at least 3-4 weeks to give the weed seeds time to germinate. If enough weeds have germinated I hoe them off on a dry day. I do this 2 to 3 times and then sow my annual flower seeds. This should have depleted the weed seed bank at the soil surface sufficiently to allow the annual flower seeds to develop without too much competition as it is very difficult to remove weed seedlings after the flower seeds have germinated. If you have weed-free soil already you can sow straight away without using the stale seedbed system.


Californian poppy and pot marigold give a splash of orange

Before sowing the flower seeds I mix them with dry sand so they are easier to distribute and you can see where you have already sown. I sow the seed/sand mix evenly over the surface of the bed (on large areas I divide the space into smaller areas and sow each area separately), rake over the whole bed and finally walk over the whole area to firm the seeds in. This does not work well on wet soil as the ground would be compacted too much by walking over it so it is better to wait until the ground has dried out bit before sowing. If rain is forecast I do not water the seeds in, but in a dry spell I try to water the area every 2 days.

Sowing the seed evenly over the surface
Raking the whole area
Walking over the bed to bring the seeds in contact with the soil

Seeds should germinate after 2-3 weeks. I always find it exciting when the area is slowly changing from brown to green with many tiny seedlings popping up everywhere. Seedlings normally develop fast in warm weather but if there is no rain they will need some watering, every 3 days should be sufficient. The first flowers normally appear in June with a mid-April sowing.

In June the first flowers are appearing
By July the flower patch is looking very colourful

Once the seedlings have developed into young plants I stop watering and just let the flowers get on with it. Many bees, hoverflies and other pollinators will visit the flower patch on fine days so it is not just me who will enjoy it!

A bumblebee is visiting the Echium flowers
Another bumblebee drinking nectar from corn marigold flowers
A tiny solitary bee is hiding between pot marigold petals

Monday 19 March 2018

Where has spring gone?

This year winter seems to drag on and on. We had a brief spell of warmer spring-like weather last week which brought out the frogs which started breeding in the pond. The hedgehog was back as well, snuffling around under the bird feeders for any crumbs the birds might have dropped. I have also seen a few more bumblebee queens flying around, visiting all the crocuses which had opened their flowers in the sunshine. Native primroses were in full flower and some of the early-flowering perennials such as Lamium orvala started growing nicely. This is all covered by snow now.
 
Crocuses in full flower just a week ago

I spent a few hours last Friday to cover some of the more precious perennials such as Kniphofia and Eremurus and also the young perennials which were planted a few weeks ago. I also covered the rhubarb and harvested the bigger stalks for a nice rhubarb crumble. The frog spawn went into a bucket which I put in the shed to save it from freezing. Fingers crossed everything survives.

Frogs happily breeding in the allotment pond last week

Below are some pictures from the allotment I took at the weekend.


Daffodils still providing a splash of colour in the snow
The allotment last weekend, all covered in snow
Garlic leaves sticking out of the snow next to the cold frame
A little blue tit eating some peanuts
The allotment pond, good I rescued the frog spawn
This is all what is visible of the primroses
The allotment seen from the back
Another happy blue tit
Red kites circling the allotment to look for food
This is all what is visible of the crocuses
Some more crocuses sticking out of the snow
A snow rat relaxing on my picnic bench :-)

Lets hope spring will arrive soon. Cannot wait to see the allotment come back to life :-).

Friday 16 March 2018

How to create a houseleek habitat

Here is something you can do as a little project in your garden or on your allotment. It does not take long and you only need a suitable container, substrate and the houseleeks of course. Here is how to do it:


1. Choose your container

Houseleeks (Sempervivum) thrive in sunny, dry places with a minimum of soil. They don`t need deep pots so you can look for shallow containers such as small troughs, bowls or, as I have done, a piece of roof gutter. You have to make sure there is good drainage as houseleeks don`t like sitting in wet soil for too long. If there are no drainage holes in your container you have to drill some yourself.

I have chosen this roof gutter to plant my houseleeks in

2. Get the plants

I had sown some houseleek seeds last year and the resulting seedlings developed into pretty plants, sitting around in the greenhouse, waiting for me to plant them somewhere. If you don`t want to sow seeds, garden centres and plant nurseries often offer a nice selection of different houseleeks: green or red, hairy or glossy, small or large. Just choose what takes your fancy.

Houseleeks waiting to be planted

3. Mix the substrate

As houseleeks need very well-drained soil I have mixed together 1 part coarse sand, 1 part gravel and 1 part compost. You can use more sand or gravel but I would not increase the proportion of compost.

Sand, gravel and compost mixed together

4. Arrange your housleeks

Remove the pots and put the houseleeks in the container, arrange them any way you like. I used equal spacings so the plants have space on each side to grow.


5. Fill in the substrate

Once you are happy with the arrangement fill in the sand-gravel-compost mix. Fill to about 1 cm below the rim of the container, make sure you fill all the space around the roots of the plants, press the substrate down lightly.


6. Cover with gravel

To keep the houseleek leaves dry and clean cover the substrate with about 1 cm of gravel. It also looks much nicer. You only have to water if the plants and the substrate are very dry. Otherwise just wait for the rain.


All done! Now you only have to find some space to put your container. I thought a suitable space for my houseleeks would be on the roof of my cane storage area on the allotment. It is low enough for me to appreciate the houseleeks but high enough for the plants to catch all the sunshine they can get.
Houseleeks are very hardy so it does not really matter where you put them. The only condition is as sunny a place as possible!
You normally don`t have to water your houseleeks. Only in the case of a prolonged drought or if they look very dry and stressed give them some water.


Happy planting!

Thursday 8 March 2018

Pasque flowers - heralds of spring

Since I started gardening I have been fascinated by pasque flowers (Pulsatilla spp.). Pasque flowers start flowering quite early in spring, normally in March. The hairy flower buds slowly unfold, until finally purple (sometimes pink or white) nodding  bell-shaped flowers with a yellow centre open. The flowers are very large for such a small plant and really stand out in a still quite bare early spring garden. This makes them easy to find for bumblebees and solitary bees who seem to like the flowers. Apparently most pasque flowers do not offer nectar as a reward (with the exception of spring pasque flower, Pulsatilla vernalis), but instead offer copious amounts of pollen.

A bumblebee collecting pollen
There are about 33 species of pasque flowers, mainly growing in North America, Europe and Asia. So far I have only grown our native pasque flower (Pulsatilla vulgaris) but want to sow seeds of a few others this autumn starting with eastern pasque flower (Pulsatilla patens). If growing from seed it is best to sow the seeds fresh as in my experience they don`t seem to need any cold treatment (stratification) then and germinate in a few weeks. Last summer I collected some seeds from pasque flowers growing in a garden and sowed them a few days later. To my surprise nearly 100 % of the seeds germinated after about 2 weeks. I ended up with 30 or so young plants which I had to find a suitable space for on my allotment. I am really looking forward to seeing them all come into flower this spring (or latest next spring).

Pasque flowers flowering on my allotment

If you have older seed you might need to stratify them. It is best to sow them in autumn and leave them somewhere protected outside (a coldframe is ideal) so they can experience winter temperature but don`t get hammered by rain. The seeds will germinate in spring. You can also sow the seeds in a greenhouse and move them into a fridge after 2 weeks. Keep the seeds in the fridge for 2-3 months and then bring them back to the greenhouse and wait for the seeds to germinate. If nothing germinates put them back in the fridge.

A solitary bee has found the pasque flowers

Pasque flowers like to grow in a sunny position on very well-drained humus-rich but gritty soil. They don`t like to be crowded or overshadowed by other plants so the front of a sunny border or in a rock garden would be ideal. One of my plants is growing in a raised bed together with other low-growing rock garden plants. The raised bed is filled with a mix of humus-rich soil, grit and coarse sand and seems to suit the pasque flower quite well.

The old raised bed on my allotment, now replaced with a new one

Wild pasque flowers growing in Germany
I was lucky to live for several years near a large population of pasque flowers in Germany. The plants were growing in calcareous grassland on sunny well-drained slopes. Every spring I walked up there to see them, 100eds of beautiful nodding flowers, all open in the early spring sunshine, what a sight!


The seed heads appearing in April and May are spectacular as well, big fluffy balls which look even better after a rain shower as the many little hairs collect water droplets. You can collect the seeds as soon as they are ripe in June or July and sow them straight away to create more plants. Pasque flowers don`t like being divided and normally grow best if left alone. I had to dig up a large plant last winter as my raised bed was falling apart and I wanted to replace it with a new one. I divided the clump into two and planted both but they did not flower very well last spring. I hope they have settled now and flower better this spring.

Pasque flower seed head after a rain shower

So why not give it a try and grow this pretty herald of spring in your garden as well?


Thursday 1 March 2018

Bumblebee queens in spring: The awakening of sleeping beauties

Buff-tailed bumblebee queen
The first bumblebee queen of the year is always eagerly anticipated. Just before the freezing weather arrived at the weekend I saw my first one, a buff-tailed bumblebee queen (Bombus terrestris). They are normally the first ones you will see, from mid-February onwards, very large bumblebees with two yellow bands and a buff-coloured tail. If you see a slightly smaller bumblebee, with two yellow bands as well but a pure white tail, you have a white-tailed bumblebee queen (Bombus lucorum).

Also emerging very early, normally at the end of February, is the tree bumblebee queen (Bombus hypnorum) which has a unique colour combination (orange, black and a white tail) which makes her easy to identify.

Tree bumblebee queen

Early bumblebee queen
Another bumblebee queen you will encounter in March is the early bumblebee (Bombus pratorum) which has two yellow bands and an orange tail. Also in March a very large bumblebee is emerging, black with a red tail, aptly named red-tailed bumblebee (Bombus lapidarius). If you see a large bumblebee queen with three yellow bands, a long face and a white tail it could either be the garden bumblebee (Bombus hortorum) or the ruderal bumblebee (Bombus ruderatus). Both look very similar and are hard to tell apart.

Red-tailed bumblebee queen
Garden bumblebee queen

The bumblebee to emerge latest in spring, often at the end of March or in April, is normally the common carder bumblebee (Bombus pascuorum) which is yellowish or reddish-brown in colour.

There are 25 bumblebee species in the UK in total but the above are the most common ones you can see in your garden.

Common carder bumblebee queen

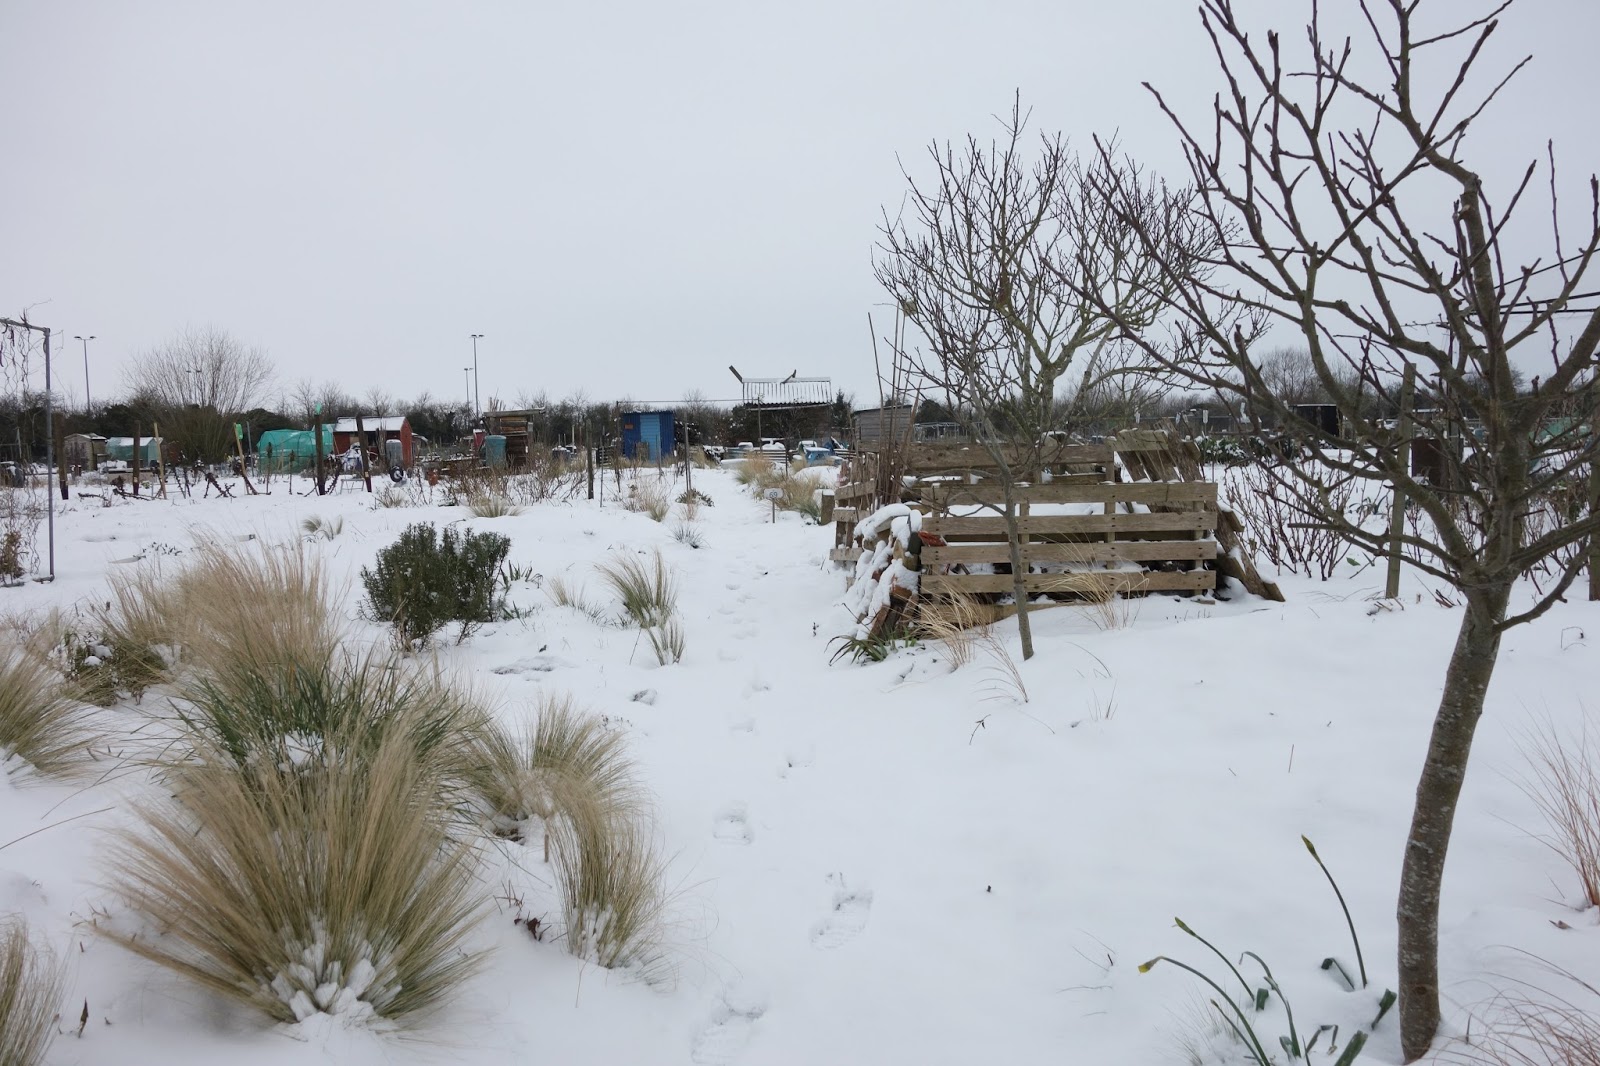
The queens you see emerging now are the new queens produced last year which have overwintered somewhere underground or in other sheltered places, protected from frost and rain. I once found a hibernating queen in my compost heap. I now try to leave my compost area alone in winter to provide a save place for wildlife to hibernate.

White-tailed bumblebee queen

Buff-tailed queen visiting snowdrop flowers
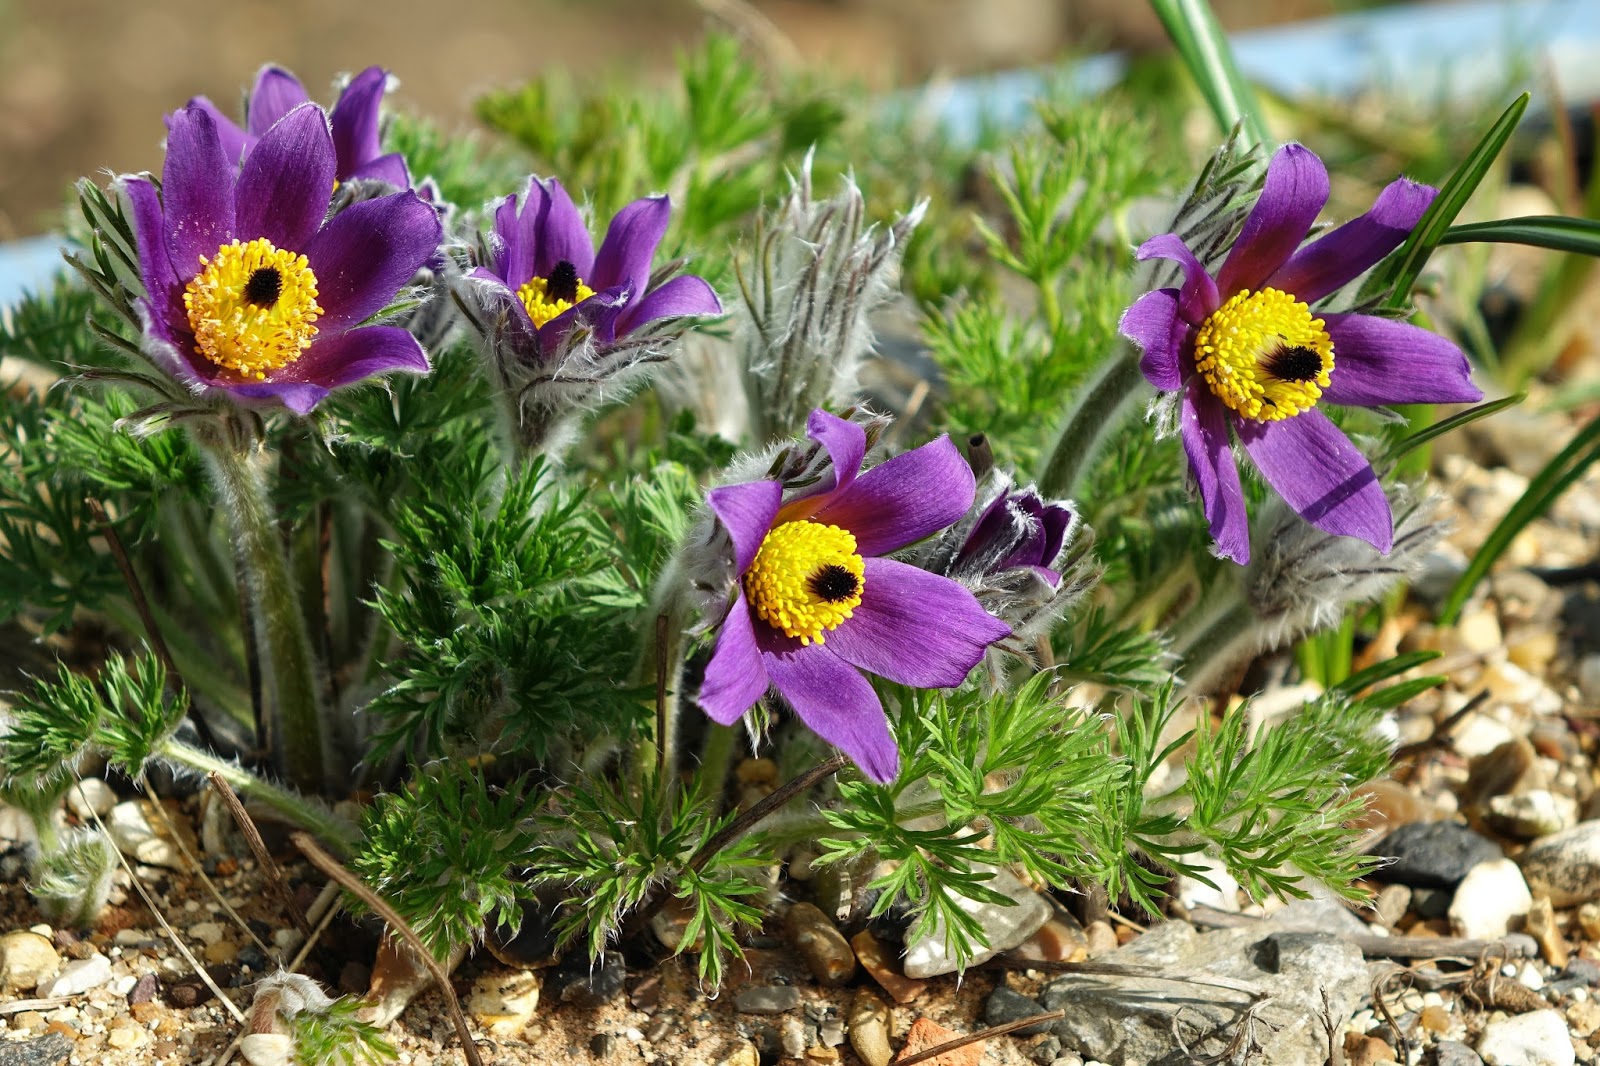
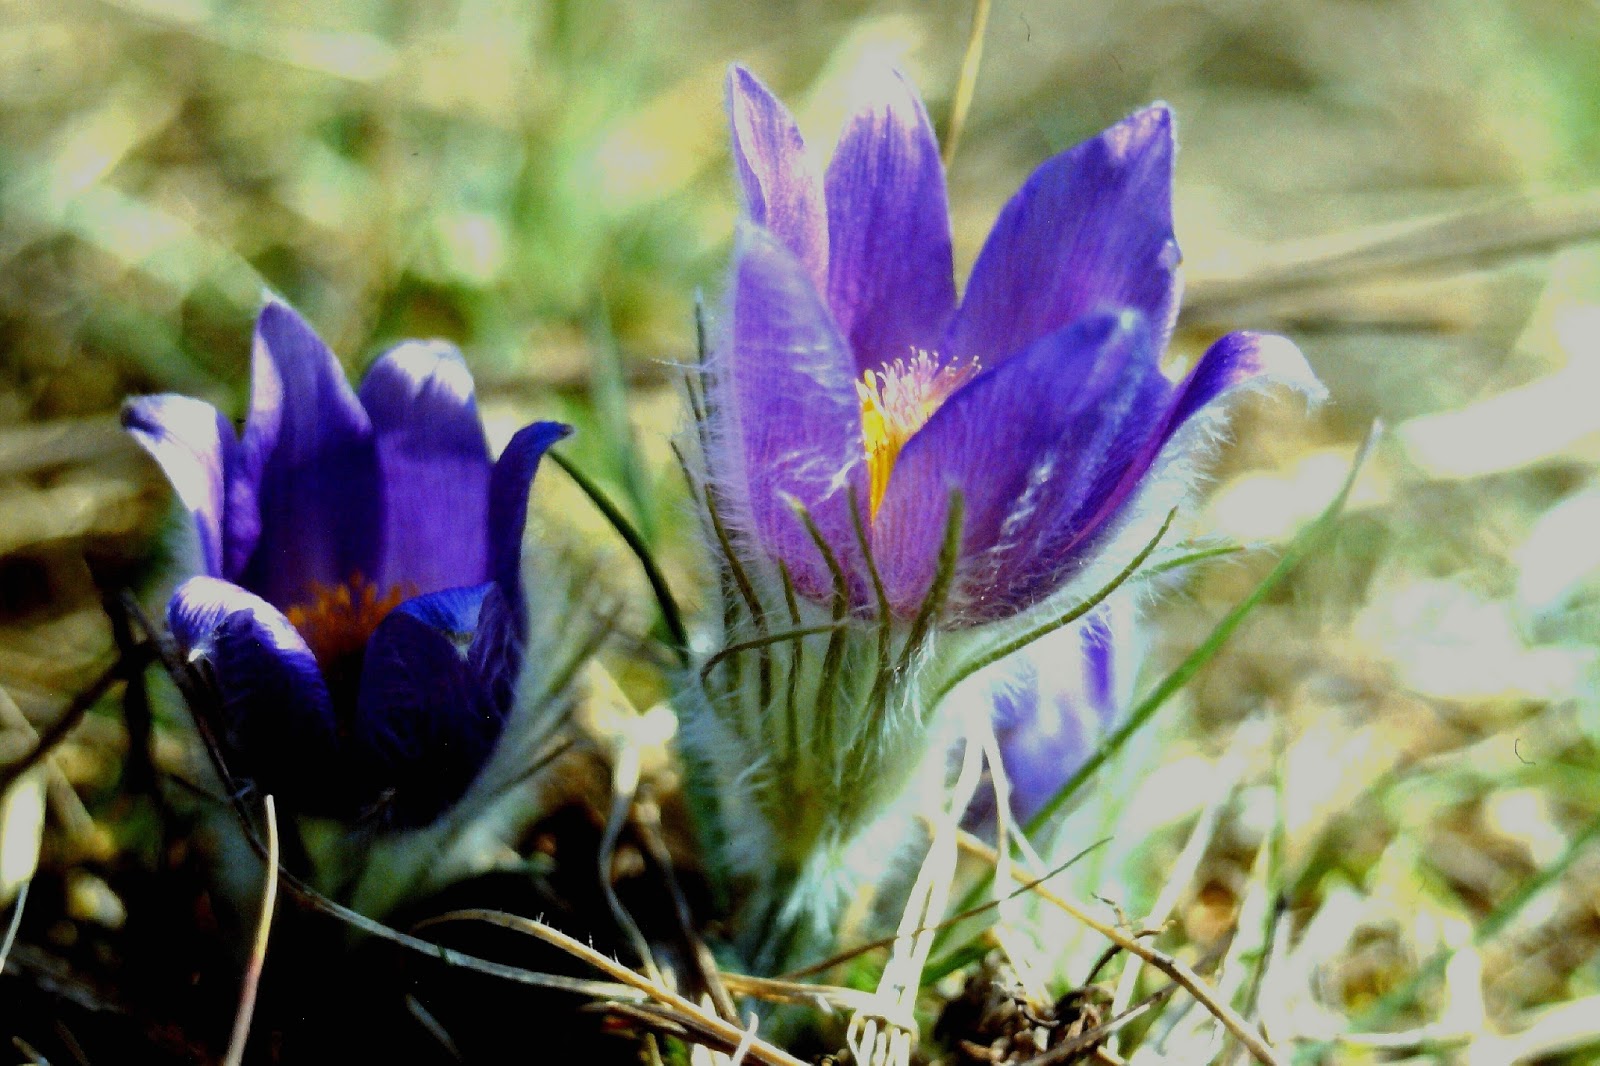
Emerging queens will be very hungry and need nectar-rich flowers to fill their empty stomach. The crocuses on my allotment always seem to be highly attractive, it only needs some warm sunshine at the end of February and the bumblebee queens appear. Last year a buff-tailed bumblebee queen was visiting my snowdrops but I think crocuses are offering more food. Primroses and cowslips are good bumblebee flowers, as well as the pretty pasque flower (Pulsatilla vulgaris). I have also planted lungwort (Pulmonaria) in different places on the allotment and have seen common carder bumblebee queens visiting the flowers. Fruit bushes such as honeyberry and gooseberry seem to be good nectar plants as well.

Common carder bumblebee queen visiting pulmonaria flowers

Don`t forget wild plants, if you can leave some white and red dead-nettles to flower in a corner of your garden you will make some bumblebees very happy!

Red-tailed bumblebee visiting red dead-nettle flowers

Once the bumblebee queens have stilled their hunger they will start to look for suitable places to build their nests. Different bumblebee species have different preferences, some look for old mice nests and other holes in the ground, others for tussocky grass. Tree bumblebees prefer bird nestboxes or cavities under roofs or in trees. Not all nests will be successful but there are always enough to provide the new generation of queens for next year.

Red-tailed bumblebee queen drinking nectar from crocus flowers

So why not look out for bumblebee queens this spring and see how many different species you can find? I will keep you updated what I find on my allotment.

New Wildlife Allotment blog

 I have started a new monthly blog about my wildlife allotment a few years ago for the Hardy Plant Society. I you are interested you can rea...

Popular Posts